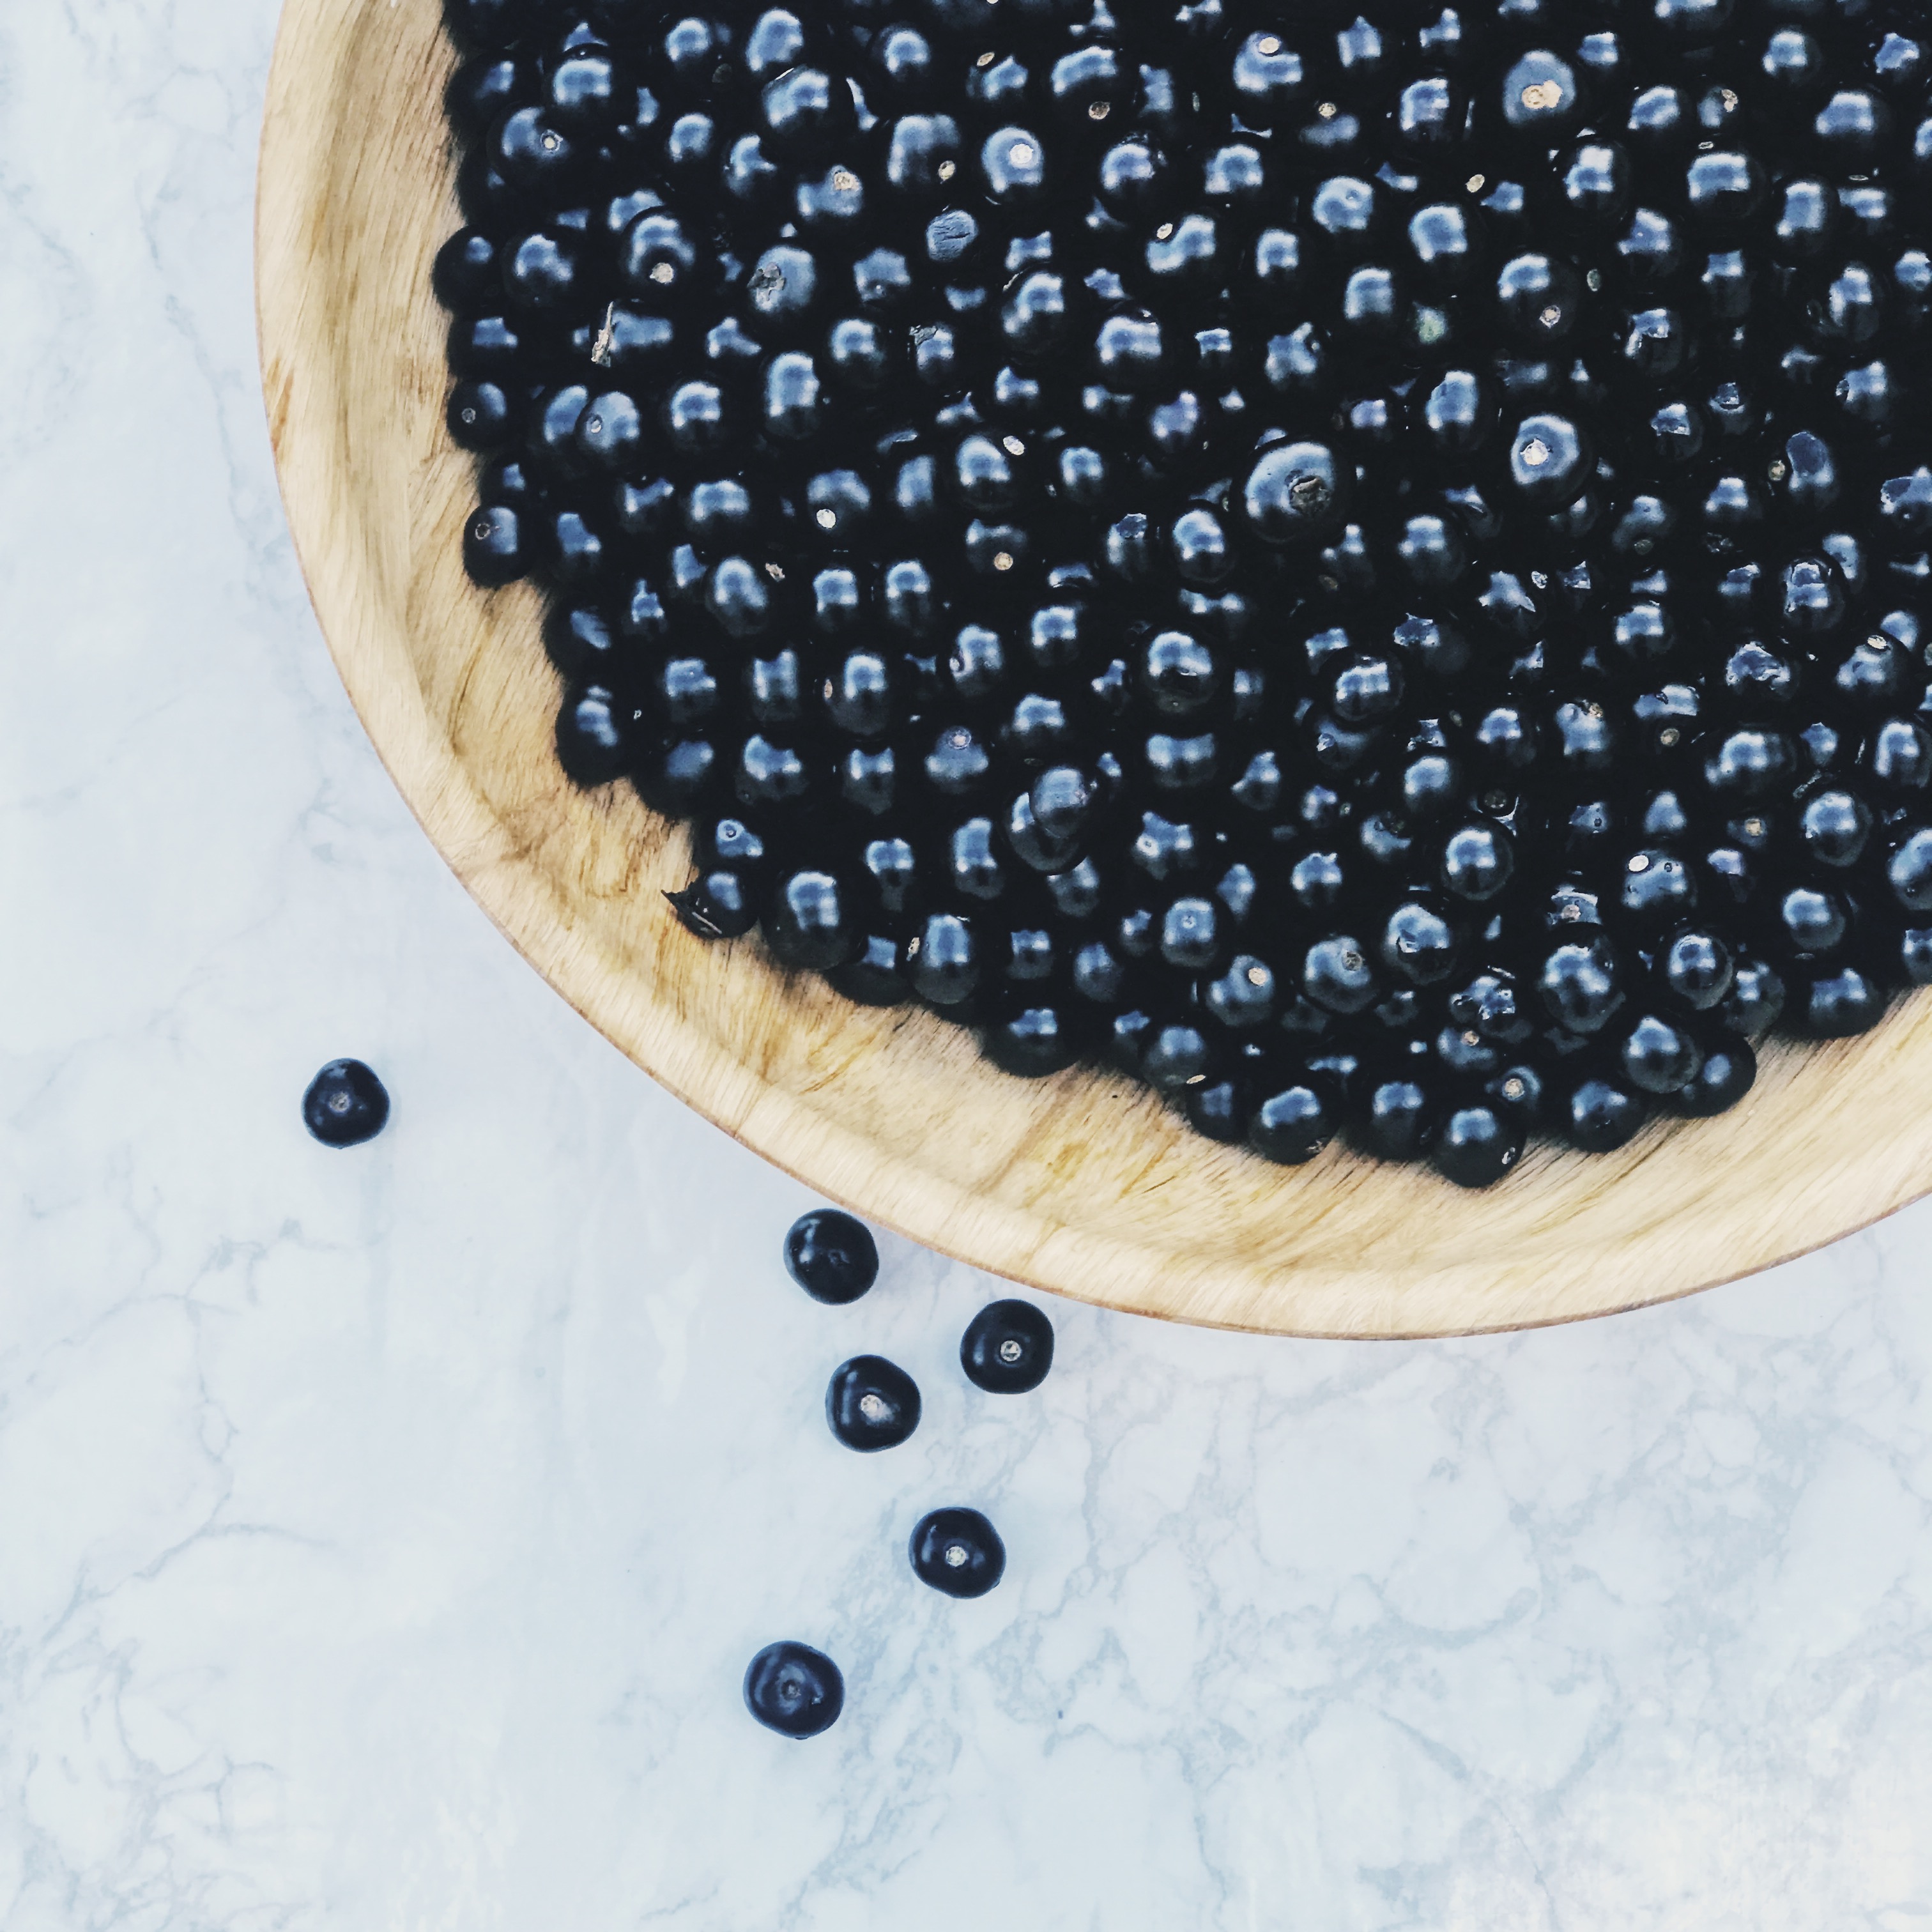
Huckleberries are a rare find in Minnesota, and there is only one vendor at the Minneapolis farmer market who carries them. These sought-after berries are quite a find since they are usually only available at the end of the summer and in very small quantities; at least in my area of the state.
A few summers ago, I happened upon a table in the market with a few baskets of these unusually dark berries. At first glance, I assumed they were blueberries until I noticed a handwritten recipe casually tucked into the berries for Huckleberry Jam. Since I am a huge fan of trying everything new, I asked the adorable little woman who was selling them if I could try one. Thankfully, she warned me not to eat them in their raw state since they were bitter. Let’s just say they will not win any awards for the best-tasting berry of the year in their natural state.
She did, however, assure me they make one of the most delightful jams out of the entire wild berry family. Now that’s quite a sales pitch! But after getting a whiff of these mysterious dark-blue berries, I had my doubts.
Since I’m always up for a culinary challenge, I bought one batch to try. By the middle of the afternoon, I had the huckleberry jam made, and after one spoonful I
She was exactly right. For whatever reason, the berries in their raw state are inedible, but turned into a sweet jam, they are irresistibly good! If I were to describe the flavor, I would say it’s a wonderful mix of blueberries and blackberries combined with a uniqueness of its own.
The very next weekend I returned to the market and sadly, the berries
If you happen upon a stash of huckleberries in your area, I highly recommend that you give this Huckleberry jam recipe a try. It might just be your favorite new jam, too.
I hope you enjoy this recipe! If you’ve made it please share it with me by tagging @culinarybutterfly on Pinterest.
Share this Post

| Prep Time | 30 minutes |
| Cook Time | 30 minutes |
| Servings |
1/2 pint jars
|
- 5 cups huckleberries
- 1 tablespoon baking soda
- 1 1/2 tablespoon fresh lemon juice
- 4 cups granulated sugar
- 1 packet powdered fruit pectin
- 5-7 8-ounce mason jars and lids (1/2 pint jars)
Ingredients
|
|
- Prepare the mason jars by placing them into a heavy bottom pot. Add water to the jars and the pot until it reaches over the top of the jars. Bring the water to a boil over high heat. Turn off the heat and leave the jars in the water until ready to use.

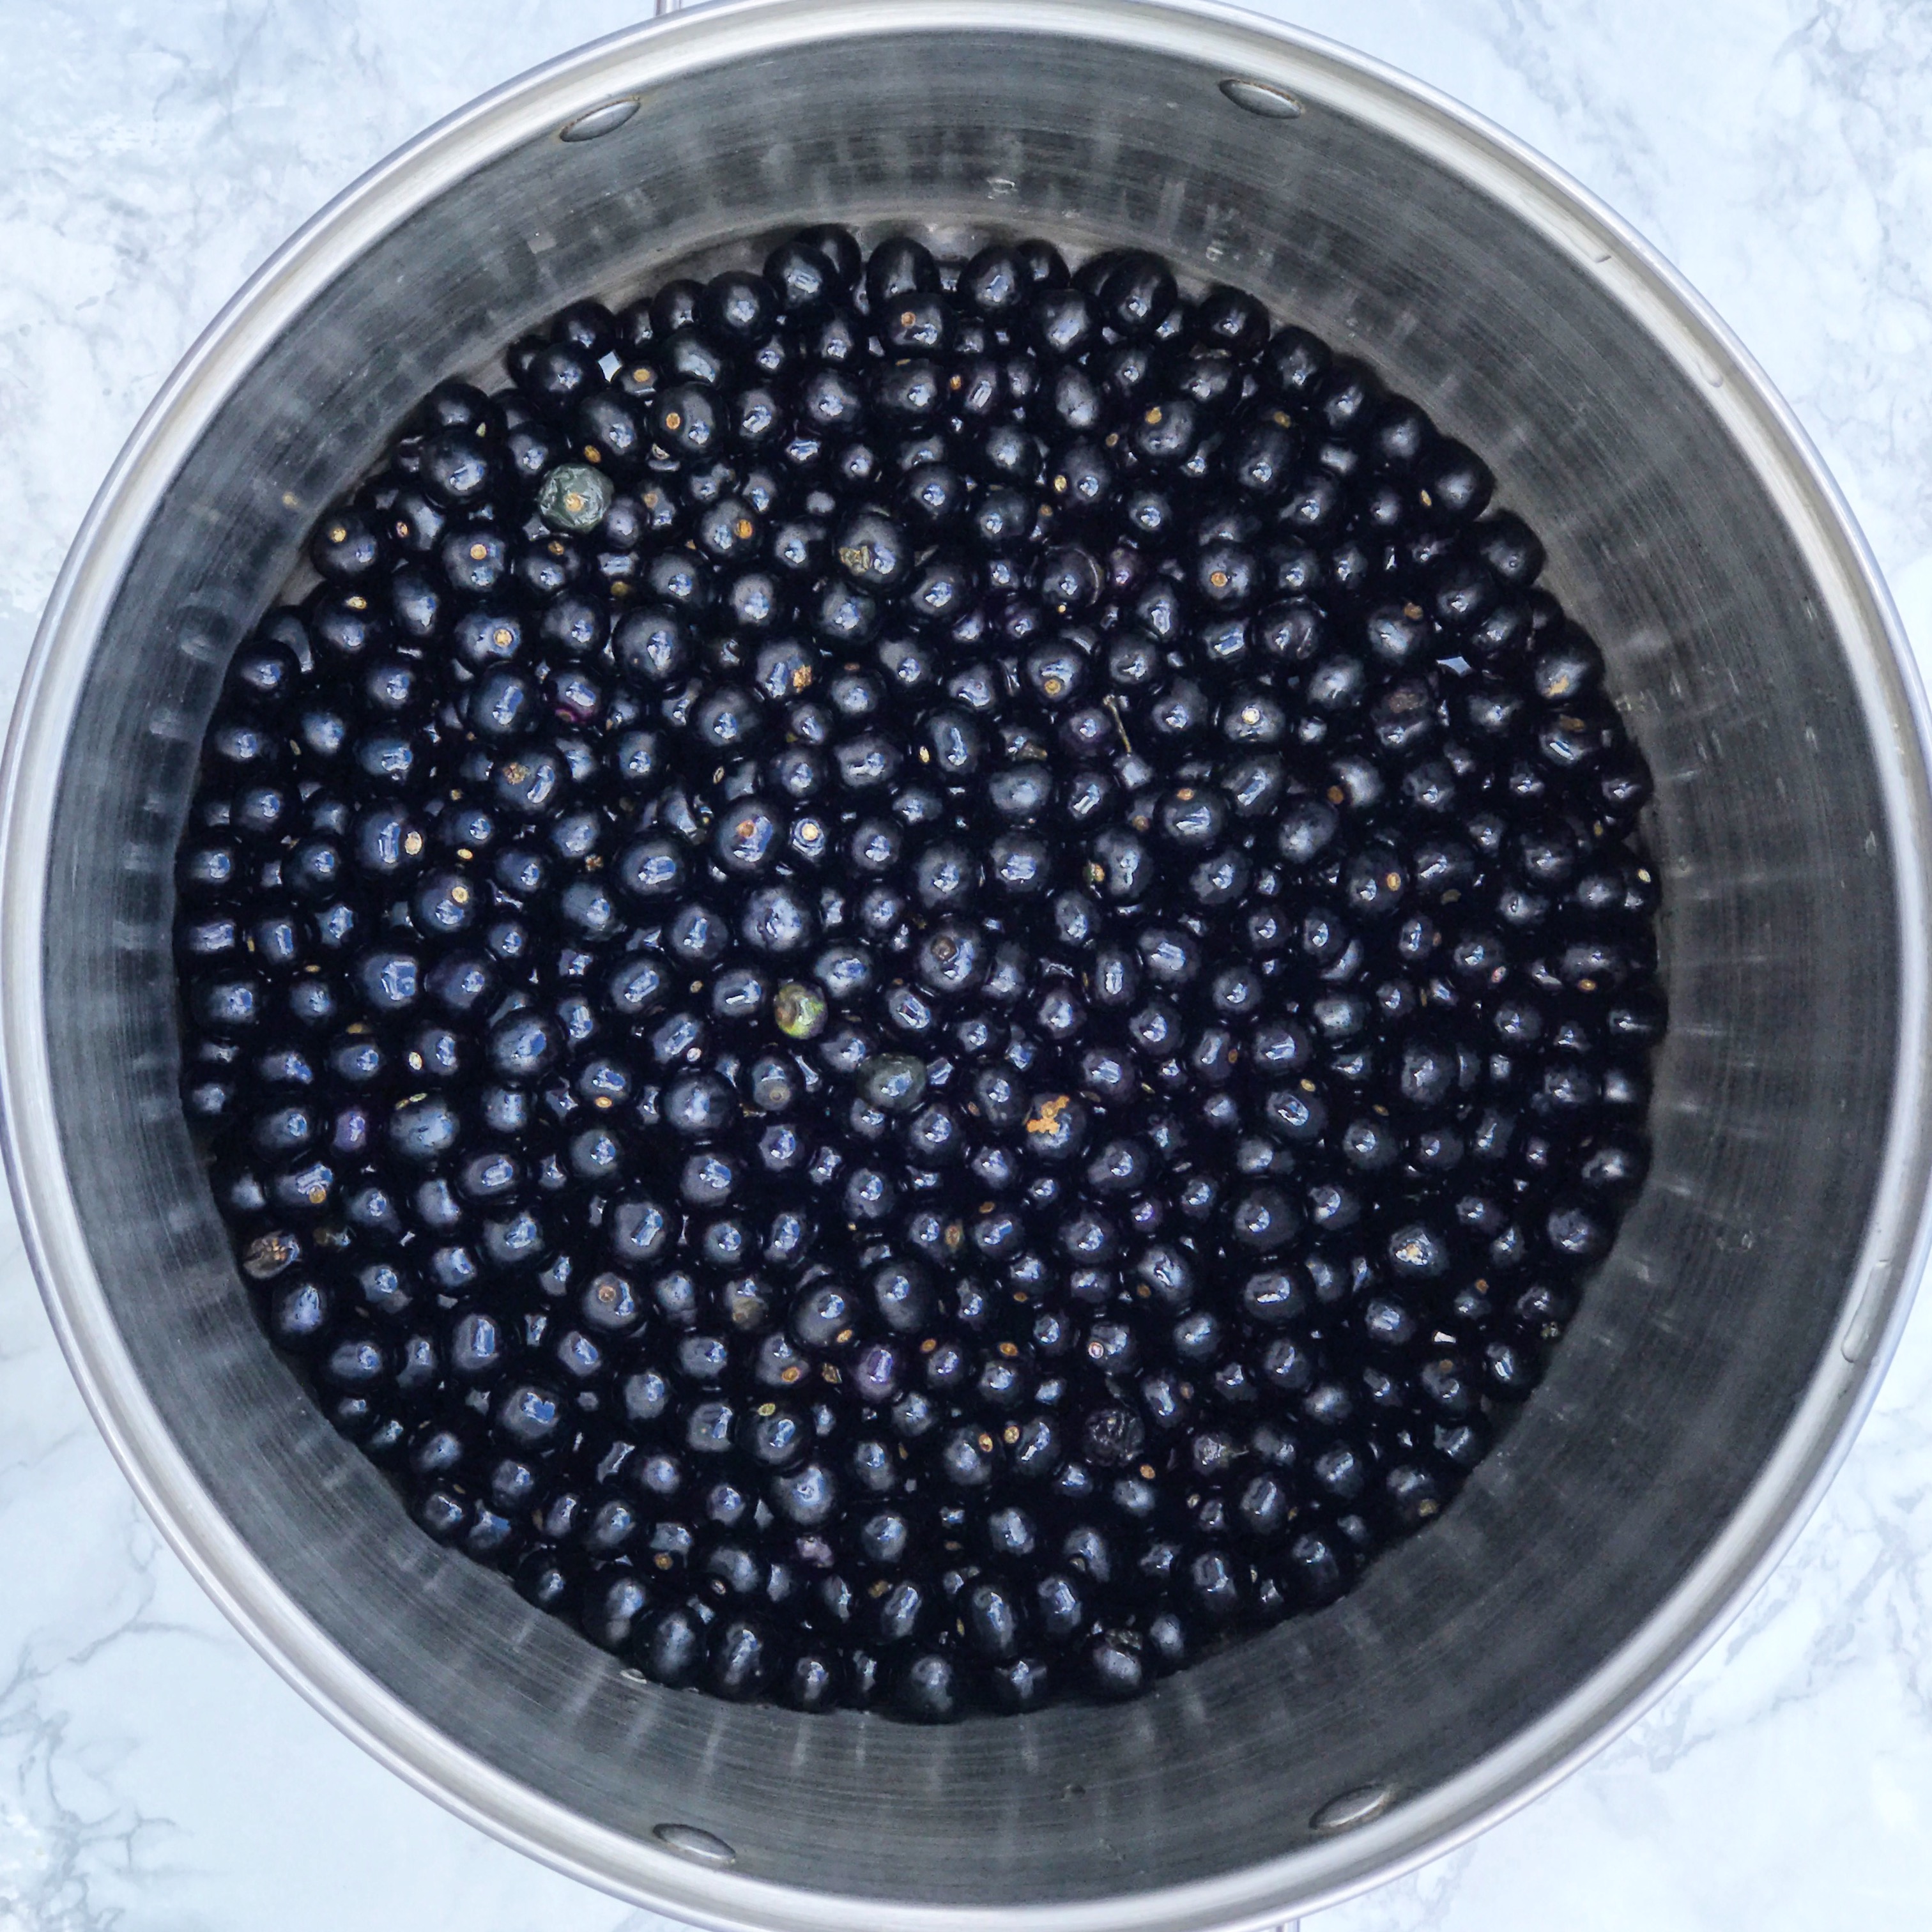
- Remove the stems from the berries and discard any rotted or crushed berries. Rinse berries well to remove the dirt and debris until the waters runs clear. Transfer the berries to a large pot and cover with water 1 inch above the berries.

- Add the baking soda and boil on high for 2 minutes to remove the bitterness of the berries. Drain and rinse berries before transferring them back into the pot.
- Add lemon juice and crush berries with a potato masher until most of the berries are broken and chunky.

- Lower the heat to medium, stir in the sugar and pectin, and bring to a low boil for 8 minutes stirring often.
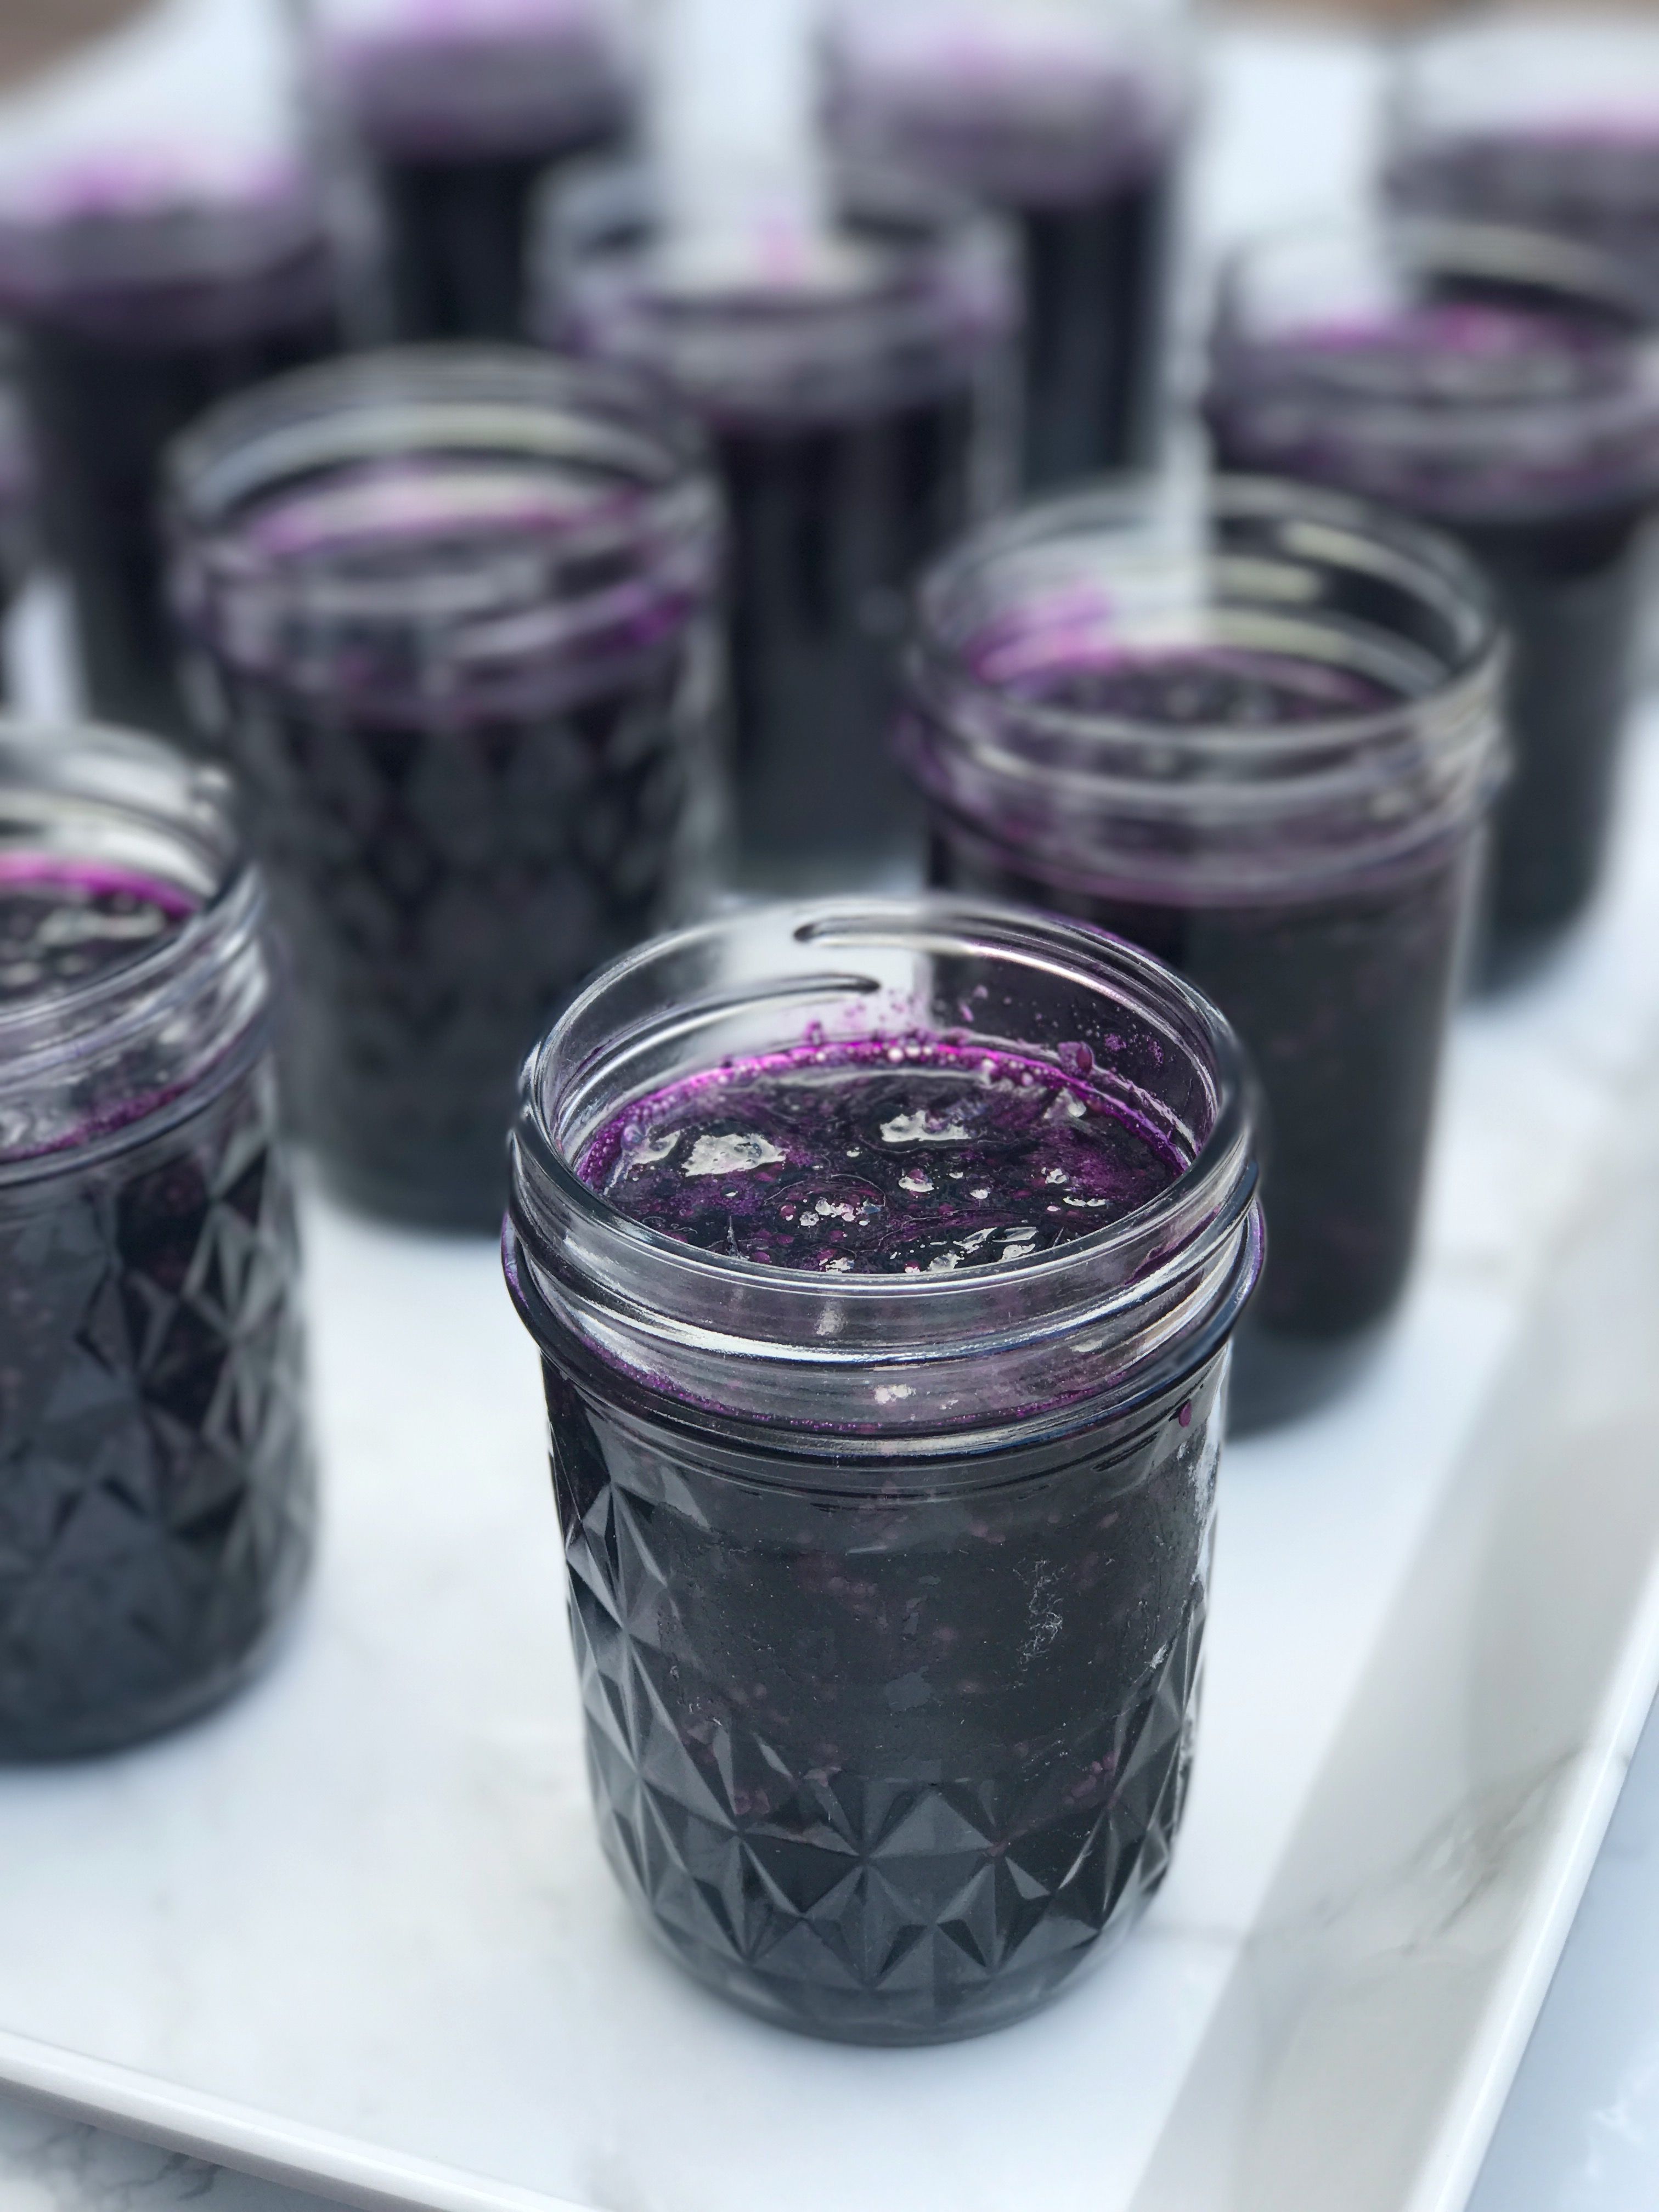
- Remove one jar from the canner at a time pouring hot water back into the canner. Place the jar on a soft towel or cutting board. Ladle the jam into the hot jar, leaving 1/4-inch headspace between the top of the jar and the jam. Using a damp paper towel, wipe the jar rim to remove any jam or residue around the lid. Repeat until all jars are filled.

- Place the flat, round portion of the two-piece closure - in a small saucepan, cover with water and bring to a simmer over medium heat to sterilize the lids. Do not boil. Keep lids hot until you are ready to use them.
- Carefully remove a lid from the hot water and place it on the jar. Place screw band on the jar. With your fingers, screw band down until resistance is met, then increase to fingertip-tight. Do not screw on tight.
- Return the jar to the hot water-filled pot. Repeat lidding steps util all jars are in the canner. Adjust the water level in the pot so water is 1-inch above jars and bring water to a full rolling boil over high heat. Once the water is boiling hard and continuously, begin the timing process of 10 minutes.

- Turn off the heat and let the jars rest in the water for 5 minutes before removing. Remove the jars, lifting them out of the hot water and transferring to the towel or cutting board to cool. Once cooled, tighten the screw band, label and store in a cool dark place for up to 2 years.

NOTES and TIPS:
-Recipe makes 5-7 half-pint (8oz) jars depending on your berry size.
- Be sure to check the lids for a seal. With your fingers, press down on the center of each lid. A sealed lid will stay firmly attached to the jar. An unsealed lid center will pop up when you press it down. Refrigerate or reprocess any unsealed jars immediately.
-The jars may have a slight water film on them. Remove the film by gently wiping them with a damp cloth.
-Following the canning directions precisely is extremely important to insure your food is safe to consume.
Recipe by Lisa Soldo-Johnson for www.culinarybutterfly.com